 Justin's Home Solutions
Complete Guide: How to Replace Brake Pads and Rotors (DIY)
Brake maintenance is one of the most critical safety aspects of car ownership. While it might seem intimidating, replacing brake pads and rotors is a manageable DIY project that can save you $300-800 per axle in labor costs. This comprehensive guide walks you through every step, ensuring you can complete this essential maintenance safely and correctly.
💰 Cost Breakdown
- DIY Cost: $150-400 (parts only)
- Shop Cost: $450-1,200 (parts + labor)
- Potential Savings: $300-800 per axle
- Break-even: After 1-2 brake jobs, your tools pay for themselves
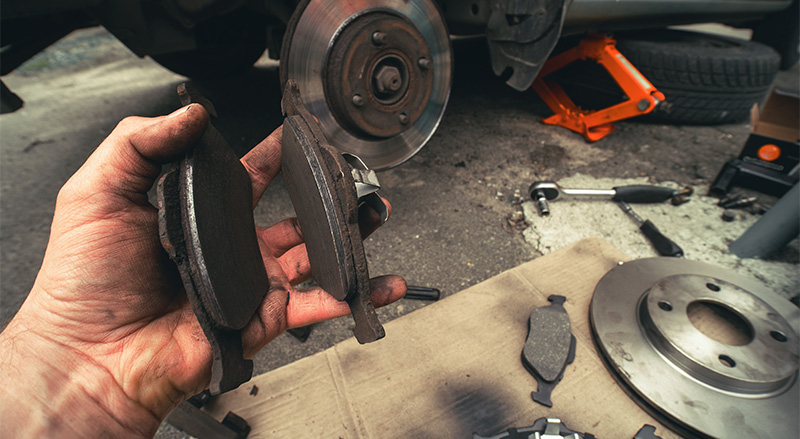
When Do You Need New Brakes?

Look for these warning signs:
- Squealing or grinding noises when braking
- Vibration or pulsing in the brake pedal or steering wheel
- Longer stopping distances than normal
- Visible wear: Pad thickness less than 1/4 inch
- Grooved or warped rotors with visible scoring
- Brake warning light on your dashboard
Tools and Materials You'll Need

Safety critical - never work under a car supported only by a jack
For removing wheel nuts
Various sizes for caliper bolts
To compress brake pistons
For cleaning brake components
Removes brake dust and debris
For caliper slide pins
Protect from brake dust and chemicals
Parts You'll Need
- Brake Pads: Choose ceramic (quiet, low dust) or semi-metallic (performance, budget-friendly)
- Brake Rotors: OEM replacement or upgraded slotted/drilled rotors
- Brake Hardware Kit: New clips, springs, and shims
- Brake Fluid: Check your owner's manual for the correct type (DOT 3, 4, or 5.1)
Step-by-Step Brake Replacement Process
1Preparation and Safety Setup
- Park on level ground and engage parking brake
- Loosen lug nuts while wheel is still on ground (don't remove yet)
- Jack up the vehicle and secure with jack stands
- Remove the wheel completely
- Spray brake components with brake cleaner and let dry
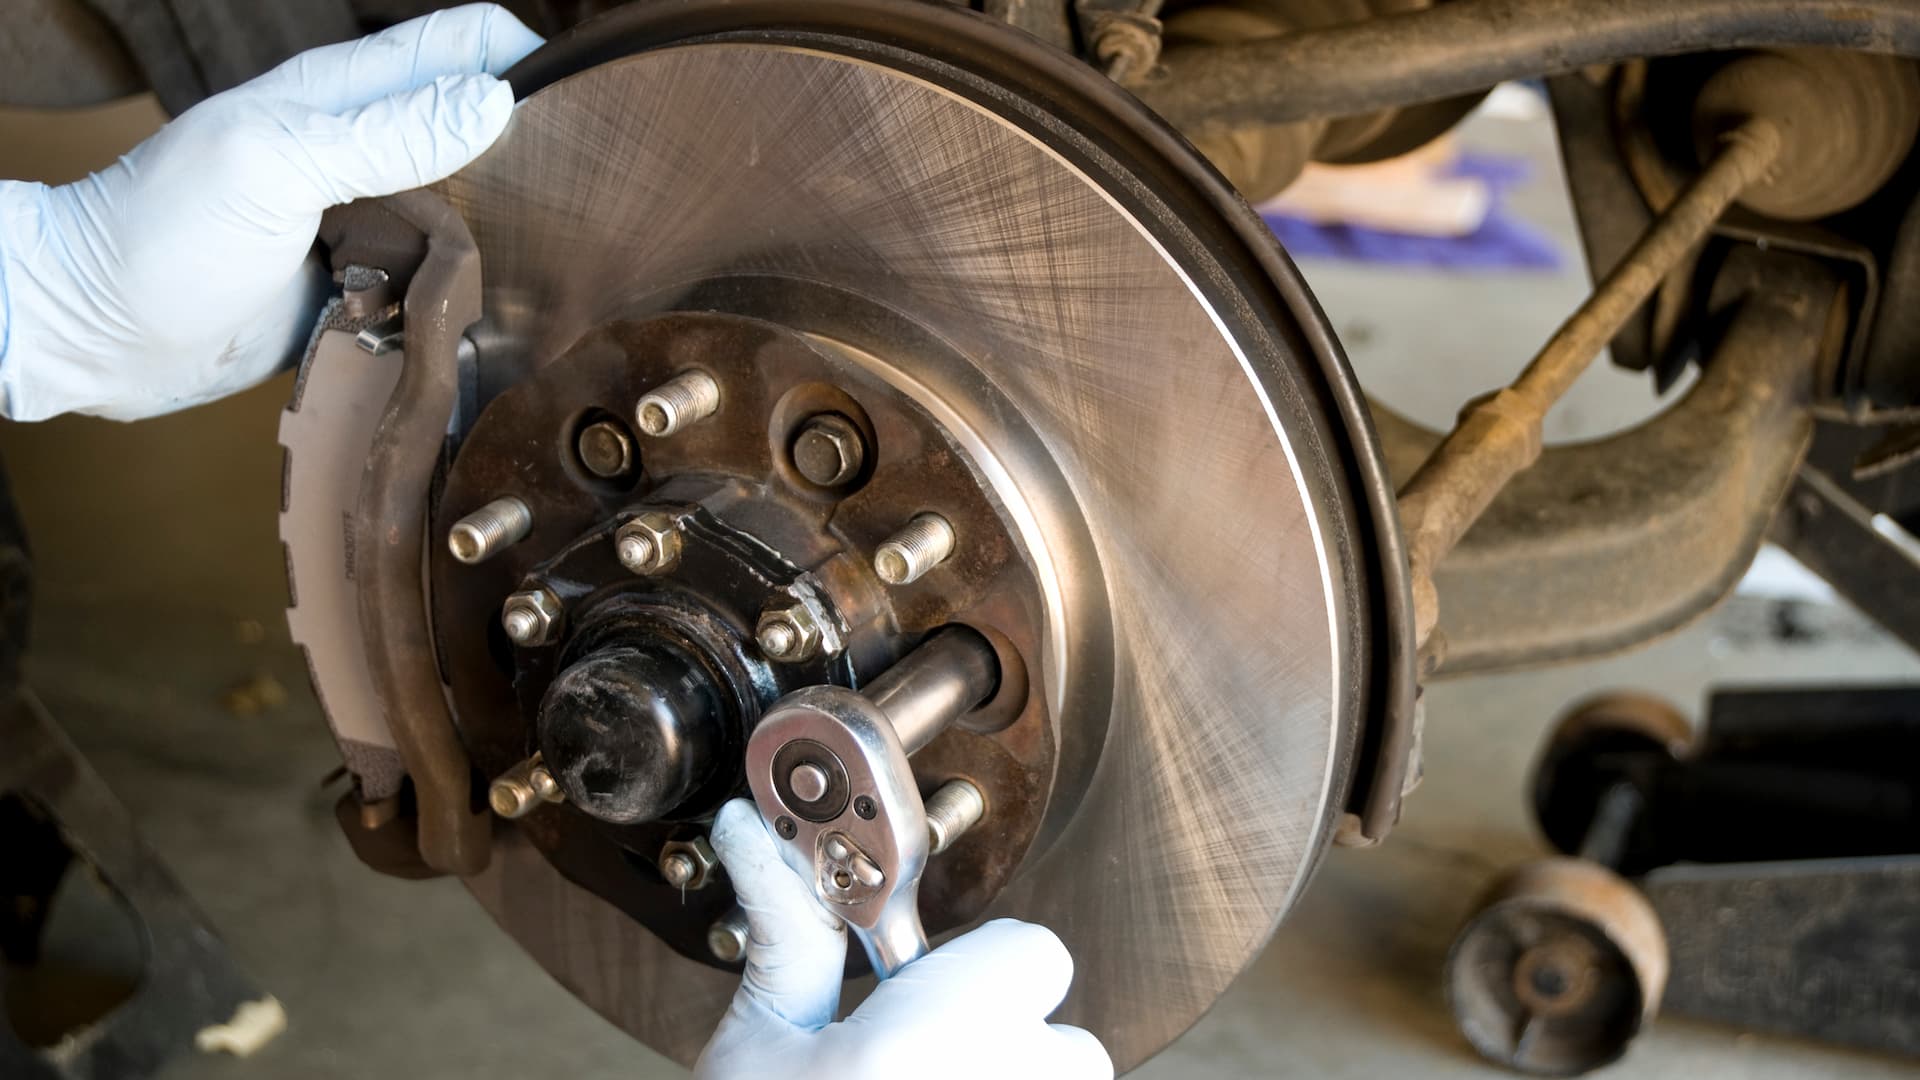
2Remove the Brake Caliper
- Locate the caliper bolts (usually 2 bolts on the back side)
- Remove the lower caliper bolt first, then the upper bolt
- Carefully lift the caliper off the rotor
- Support the caliper with wire or a bungee cord - never let it hang by the brake line
- Remove the old brake pads from the caliper bracket
3Remove the Old Rotor
- Remove the caliper bracket (usually 2 larger bolts)
- If present, remove any retaining screws holding the rotor
- Pull the rotor straight off the hub
- If stuck, use a rubber mallet to gently tap from behind
- Clean the hub surface with a wire brush
4Install the New Rotor
- Clean new rotors with brake cleaner to remove protective coating
- Slide the new rotor onto the hub
- Install any retaining screws if your vehicle uses them
- Reinstall the caliper bracket with new bolts (if provided)
- Torque caliper bracket bolts to manufacturer specifications
5Compress the Brake Piston
- Remove the brake fluid reservoir cap (prevents vacuum buildup)
- Place old brake pad against piston to protect it
- Use C-clamp or piston compression tool to slowly compress piston
- Compress until piston is fully retracted into caliper
- Watch brake fluid level - it will rise as piston compresses
6Install New Brake Pads
- Apply thin layer of brake grease to caliper slide pins
- Install new hardware clips and shims
- Place new brake pads in the caliper bracket
- Ensure pads are properly seated in their clips
- Apply brake grease to pad backing plates (where they contact caliper)
7Reassemble Everything
- Carefully lower caliper over new pads and rotor
- Install caliper bolts and torque to specification
- Reinstall the wheel and hand-tighten lug nuts
- Lower vehicle until tire touches ground but still supports some weight
- Torque lug nuts to proper specification in star pattern
- Fully lower vehicle and remove jack stands
Critical Final Steps
Brake Bedding Process
New brakes require a "bedding" process to achieve optimal performance:
- First 50 miles: Gentle braking only, avoid hard stops
- Break-in sequence: 10 stops from 30-35 mph with moderate pressure
- Cool down: Drive without braking for 5 minutes between sequences
- Final test: Make several stops from 45 mph with firm pressure
- Avoid: Coming to complete stops during bedding when possible
Maintenance Tips for Longer Brake Life
- Check brake fluid every 6 months - replace every 2-3 years
- Inspect pads every oil change
- Clean wheels regularly to prevent brake dust buildup
- Drive smoothly - anticipate stops to reduce brake wear
- Don't ride the brakes on long downhills - use engine braking
When to Call a Professional
Contact a mechanic if you encounter:
- Brake lines that need replacement
- ABS system issues
- Stuck or seized calipers
- Brake fluid leaks
- Any safety concerns or uncertainty
🎯 Bottom Line
Replacing your own brake pads and rotors can save significant money while giving you confidence in your vehicle's most important safety system. With proper tools, quality parts, and careful attention to detail, this is an achievable DIY project that many car owners can master.
Remember: Your safety and that of others depends on properly functioning brakes. When in doubt, consult a professional.